Before Reading this Article, Hire Us As Your Designer or Take a Look at My Top 3 Amazon Picks!
If you are looking to blend Amazon's furniture finds with a personalized touch for your space, check out my portfolio, and hire us! You'll get 3 Idea boards, 2 Concept Boards, 2 Realistic Renderings, a Floor Plan, and a Shopping List! Everything's online, plus a 25% discount on your first online interior design project with my Havenly Promo code 4c7441bcfb. With over 2,000 designs since 2017 and top US brand partnerships, your project is in expert hands. US only. Ready to start?
Simple Ways to Achieve Stunning Home Decor: Transf...
$15.95 (as of January 22, 2025 09:28 GMT -06:00 - More infoProduct prices and availability are accurate as of the date/time indicated and are subject to change. Any price and availability information displayed on [relevant Amazon Site(s), as applicable] at the time of purchase will apply to the purchase of this product.)Eco-Chic Living: Transform Your Home with Sustaina...
$19.95 (as of January 22, 2025 09:29 GMT -06:00 - More infoProduct prices and availability are accurate as of the date/time indicated and are subject to change. Any price and availability information displayed on [relevant Amazon Site(s), as applicable] at the time of purchase will apply to the purchase of this product.)Simple and Successful Home Decoration Guide: Trans...
$15.95 (as of January 22, 2025 09:28 GMT -06:00 - More infoProduct prices and availability are accurate as of the date/time indicated and are subject to change. Any price and availability information displayed on [relevant Amazon Site(s), as applicable] at the time of purchase will apply to the purchase of this product.)DIY Home Decor Ideas: Transform Your Space with Simple Projects
Transforming your home doesn’t always require a professional touch or a hefty budget. With a bit of creativity and some DIY enthusiasm, you can refresh your space and make it truly unique. DIY home decor projects offer a personal touch, allowing you to customize your living space to reflect your style and preferences. As an architect and interior designer with expertise in evidence-based design, I’m excited to share some simple yet impactful DIY home decor ideas that can transform your space. These projects are easy to execute and perfect for adding a personal touch to your home.
Create a Gallery Wall
A gallery wall can instantly elevate the look of any room. It’s a versatile way to display art, photographs, and other decorative items, creating a focal point that reflects your personal style.
Steps to Create a Gallery Wall:
- Choose a Location: Select a prominent wall in your living room, hallway, or bedroom.
- Gather Your Art: Collect frames, art prints, photographs, and other items you want to display. Mix and match different sizes and styles for a dynamic look.
- Plan Your Layout: Lay out your pieces on the floor to find the perfect arrangement. Consider using templates or guides to ensure even spacing.
- Hang Your Art: Start with the central piece and work your way outwards. Use picture-hanging strips or hooks to avoid damaging your walls.
DIY Floating Shelves
Floating shelves are a stylish and practical addition to any room. They provide storage and display space without taking up floor area, making them ideal for small spaces.
How to Make Floating Shelves:
- Materials Needed: Wooden boards, brackets, screws, drill, level, and paint or stain.
- Cut and Sand: Cut the wooden boards to your desired length and sand the edges for a smooth finish.
- Paint or Stain: Apply paint or stain to the boards to match your decor. Allow them to dry completely.
- Install Brackets: Use a drill to attach the brackets to the wall. Ensure they are level and properly anchored.
- Mount Shelves: Place the wooden boards on the brackets and secure them with screws.
Customized Throw Pillows
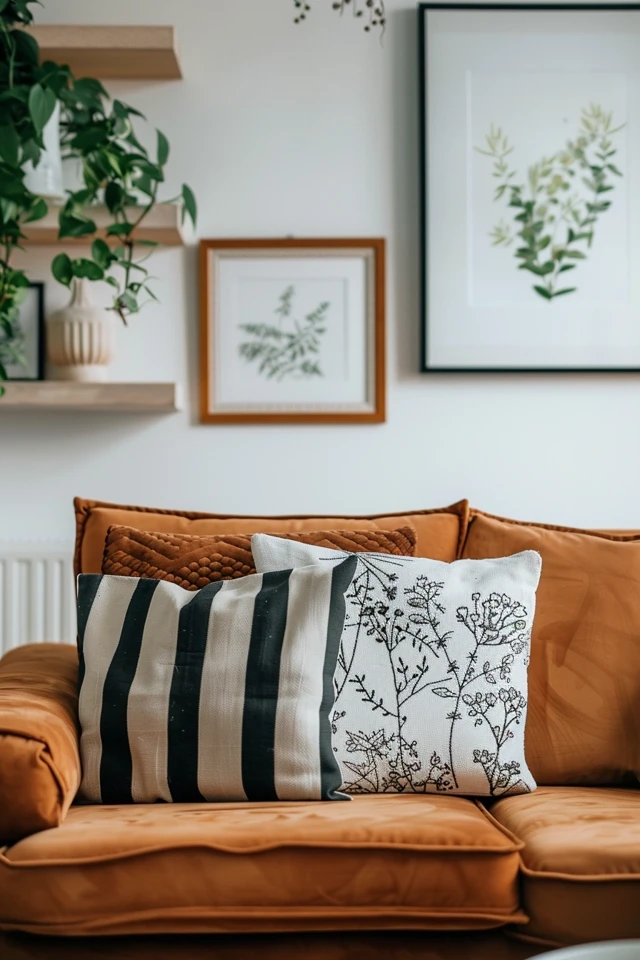
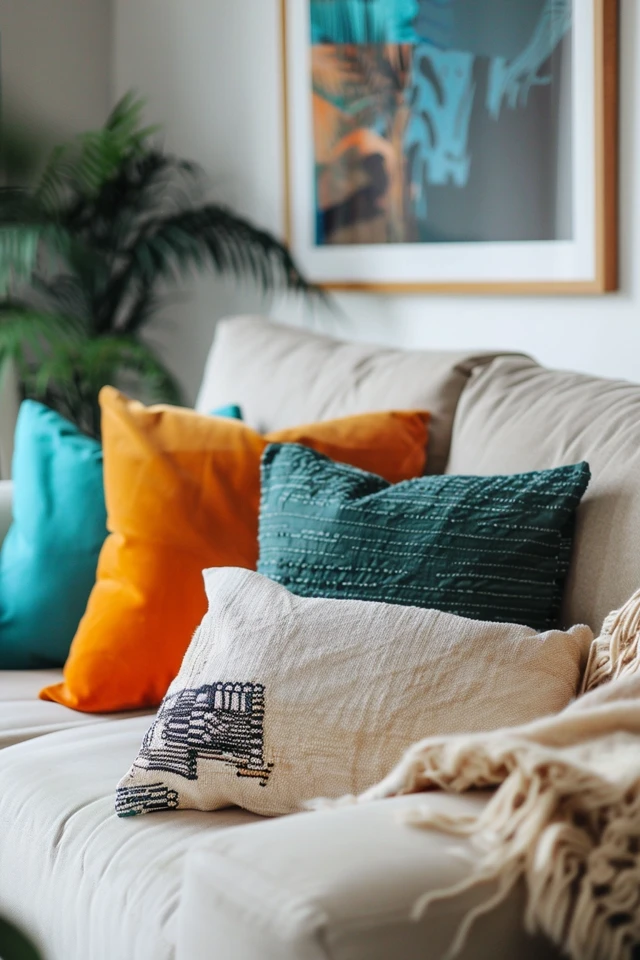
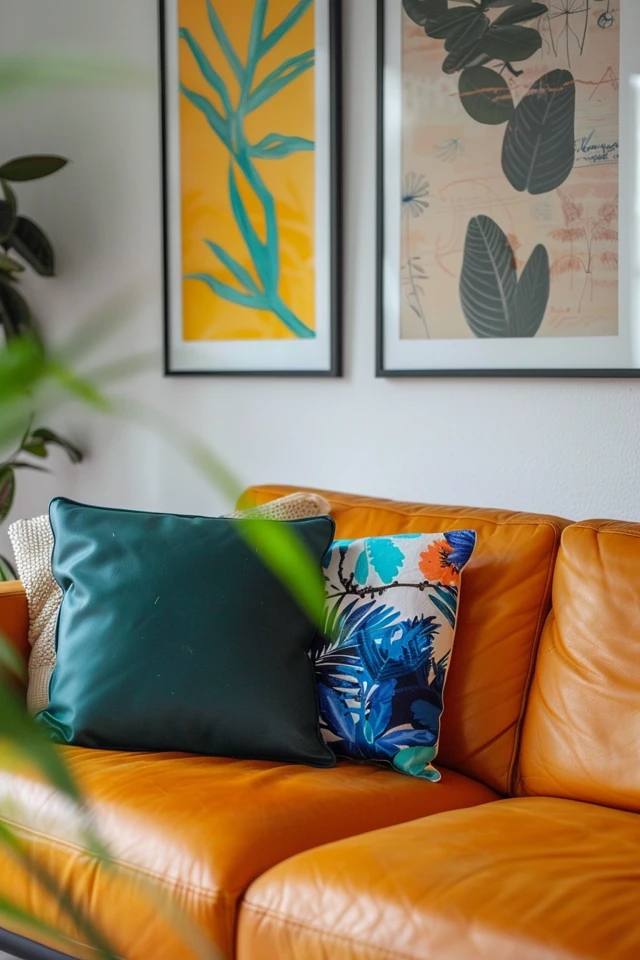
Throw pillows are an easy way to add color and texture to your living room or bedroom. Customized pillows can be made to match your decor and personal style.
Steps for Customized Throw Pillows:
- Materials Needed: Plain throw pillows or pillow covers, fabric paint, stencils, and brushes.
- Choose a Design: Select a design or pattern that complements your decor. Use stencils to help create precise shapes.
- Paint the Fabric: Place the stencil on the pillow and apply fabric paint using a brush or sponge. Allow the paint to dry before using the pillows.
- Add Embellishments: For extra flair, consider adding embellishments like buttons, beads, or embroidery.
Revamp Old Furniture
Give new life to old furniture with a fresh coat of paint or a new finish. This DIY project is perfect for transforming dated or worn-out pieces into stylish decor.
How to Revamp Furniture:
- Materials Needed: Sandpaper, primer, paint or stain, brushes, and sealer.
- Prepare the Surface: Sand the furniture to remove old paint or finish. Wipe it clean to remove dust.
- Apply Primer: Use a primer to ensure the paint adheres properly. Allow it to dry completely.
- Paint or Stain: Apply paint or stain in thin, even coats. Let each coat dry before applying the next.
- Seal the Finish: Use a clear sealer to protect the new finish and add durability.
DIY Planters and Greenery
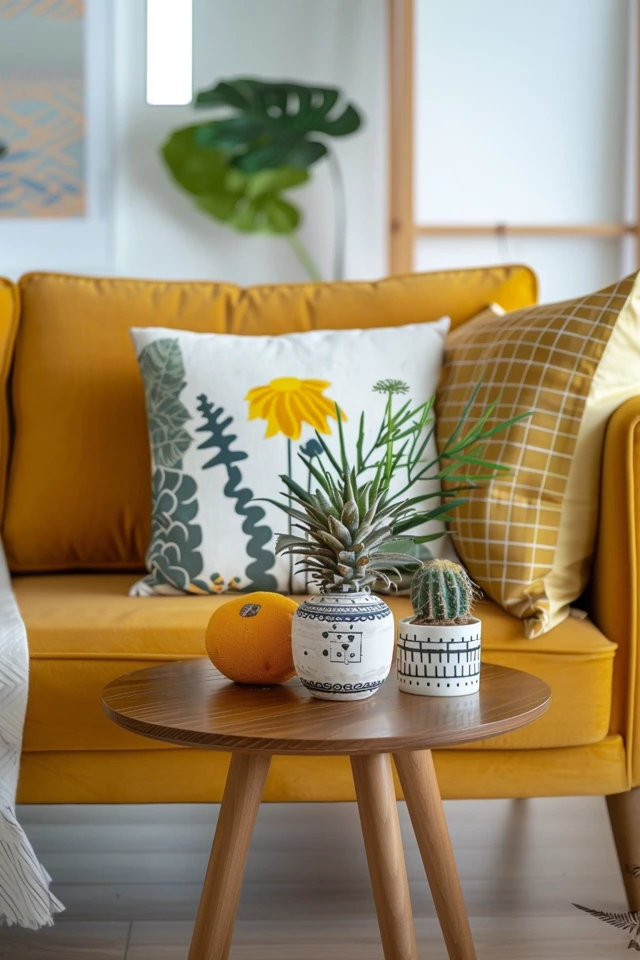
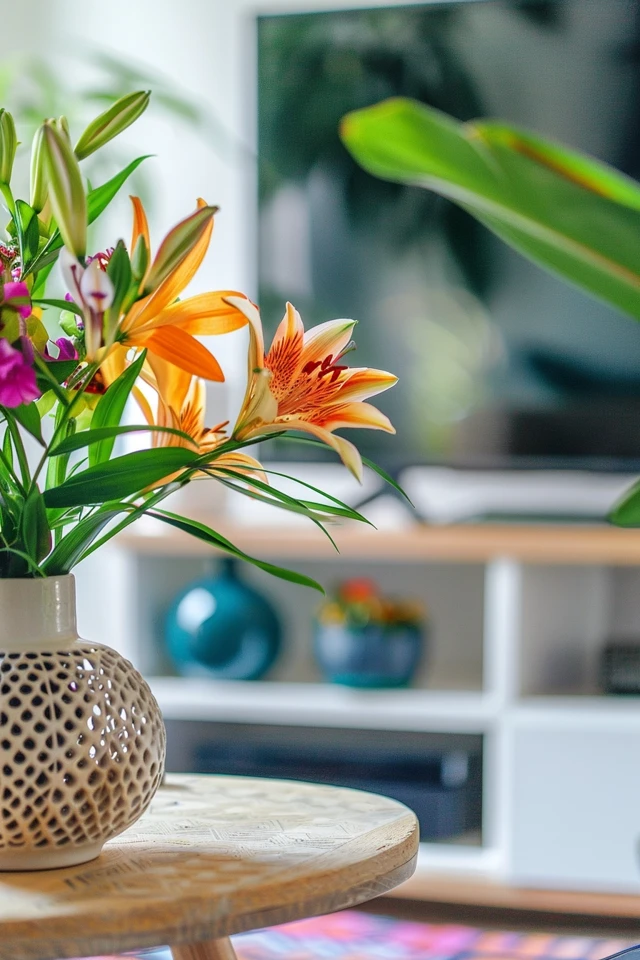
Adding greenery to your home can enhance its aesthetic and create a calming atmosphere. DIY planters allow you to customize the look and feel of your indoor garden.
How to Make DIY Planters:
- Materials Needed: Clay pots, paint, brushes, stencils, and potting soil.
- Decorate the Pots: Paint the clay pots in your desired colors and patterns. Use stencils to add intricate designs.
- Plant Your Greenery: Fill the pots with potting soil and plant your favorite indoor plants or herbs.
- Arrange and Display: Place the planters on shelves, windowsills, or plant stands to create a mini indoor garden.
DIY Wall Art
Creating your own wall art is a fun and creative way to personalize your home decor. Whether you prefer abstract designs or detailed illustrations, DIY wall art can add a unique touch to your space.
Steps to Create DIY Wall Art:
- Materials Needed: Canvas or thick paper, acrylic paint, brushes, and painter’s tape.
- Choose a Design: Decide on a design or pattern. Abstract designs are great for beginners, while more detailed illustrations can be rewarding for experienced artists.
- Paint the Canvas: Use painter’s tape to create clean lines and geometric patterns. Apply acrylic paint in your chosen colors.
- Remove Tape: Once the paint is dry, carefully remove the painter’s tape to reveal your design.
Upcycle Everyday Items
Upcycling is an eco-friendly way to create unique decor pieces from everyday items. This approach not only saves money but also adds a personal touch to your home.
Upcycling Ideas:
- Mason Jars: Turn mason jars into vases, candle holders, or storage containers. Paint or decorate them to match your decor.
- Wine Corks: Use wine corks to create a bulletin board or coasters. Glue the corks together and trim to the desired shape.
- Old Books: Transform old books into decorative objects by stacking them or using them as plant stands. You can also create book art by folding pages into unique shapes.
- Tin Cans: Clean and paint tin cans to use as planters, utensil holders, or desk organizers.
DIY Headboard
A DIY headboard can transform your bedroom and add a focal point to your space. This project can be as simple or elaborate as you like, depending on your style and skills.
How to Make a DIY Headboard:
- Materials Needed: Plywood, foam, fabric, staple gun, and mounting hardware.
- Cut the Plywood: Cut the plywood to the desired size and shape of your headboard.
- Add Foam: Attach foam to the plywood using adhesive. This adds comfort and creates a plush look.
- Cover with Fabric: Lay the fabric over the foam and plywood, pulling it tight. Use a staple gun to secure the fabric on the back of the plywood.
- Mount the Headboard: Attach mounting hardware and secure the headboard to the wall or bed frame.
Conclusion: Transforming Your Home with DIY Decor
Transforming your home with DIY decor projects is a fulfilling and creative endeavor. It allows you to personalize your space, add unique touches, and showcase your style without breaking the bank. From creating a gallery wall to upcycling everyday items, these projects offer simple yet impactful ways to refresh your interiors.
As an architect and interior designer, I believe that great design is about creating environments that resonate with your personality and enhance your lifestyle. DIY projects are a wonderful way to engage with your space and make it truly your own. Each project, whether big or small, contributes to the overall aesthetic and functionality of your home.
Remember, the key to successful DIY decor is creativity and attention to detail. Regularly update and personalize your space to keep it aligned with your evolving tastes and preferences. With these tips and ideas, you’re well on your way to creating a home that is not only visually stunning but also a true reflection of your unique style and spirit. Enjoy the process of transforming your space with these simple and stylish DIY projects.
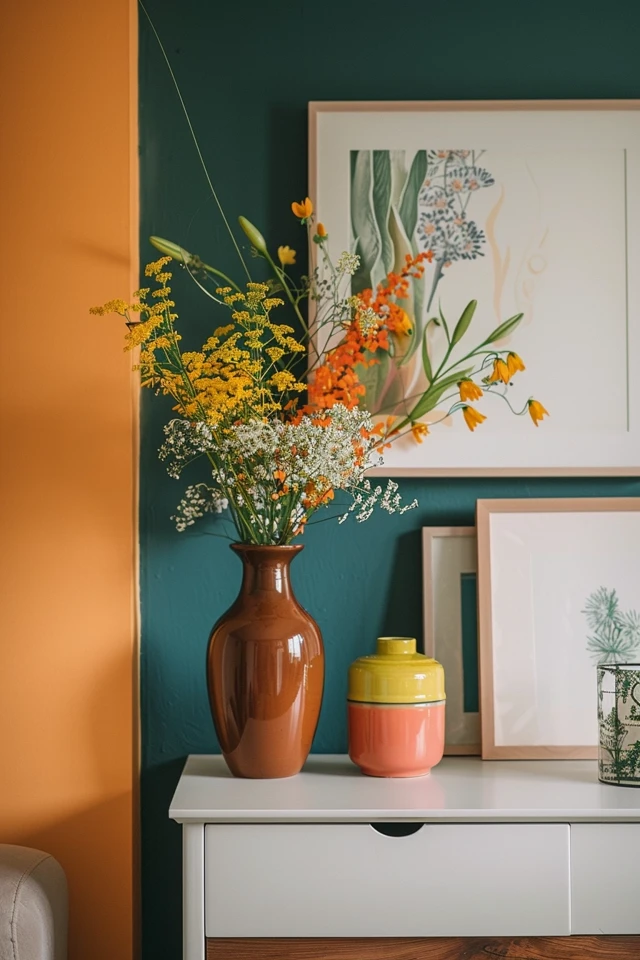
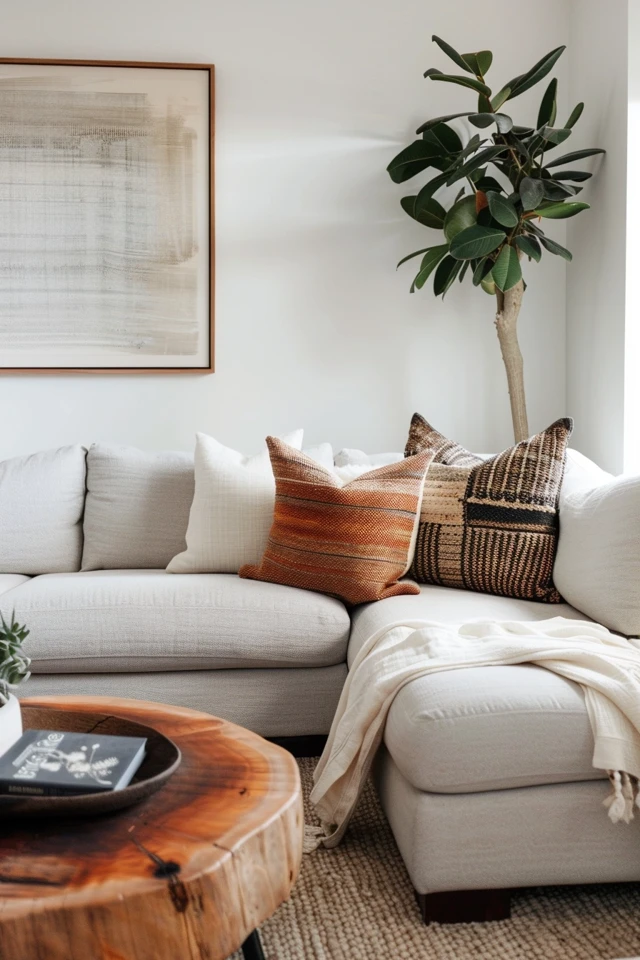
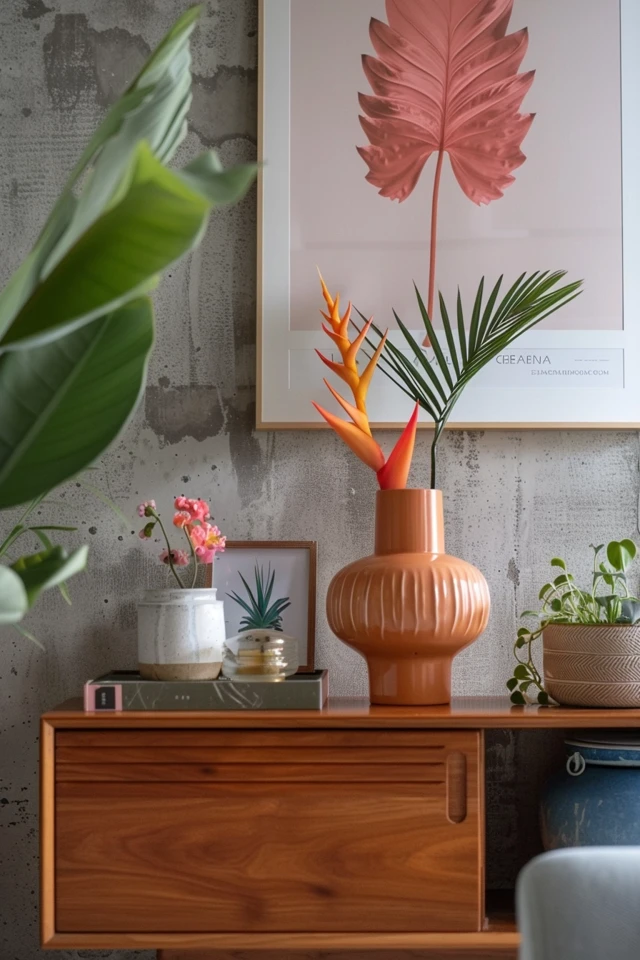
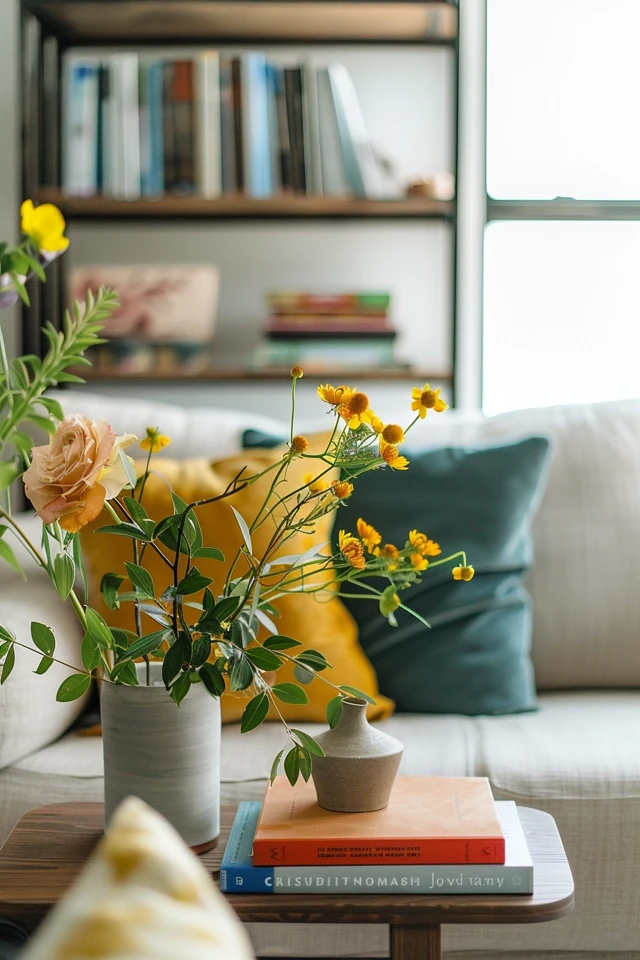
Inspirational Pictures
